Thanks for looking!!
Sunday
Black & White
Thanks for looking!!
Thursday
Oooooo, Sparkly
Blue Poppies
These poppies were fun to color - yes, copics again. Love them. They do something new every time I use them. This means I'm hunkering to color alot of the time - yea, play time!! The stems on these are done free hand, that's why they look crooked. Can you tell I was low on birthday cards?
Monday
Friday
Sunflower
Here's another that I did in Copic's class. I really like this image - had to by the set - Oh Darn!! I'm having a lot of fun coloring with my new markers. They are amazing - I love coloring with them so much. And I have found a store where I can get them for just about half what I've been paying. Oh Goodie!!
Hope you enjoy.
The stamp is from a set by Penny Black.
Tuesday
Butterfly
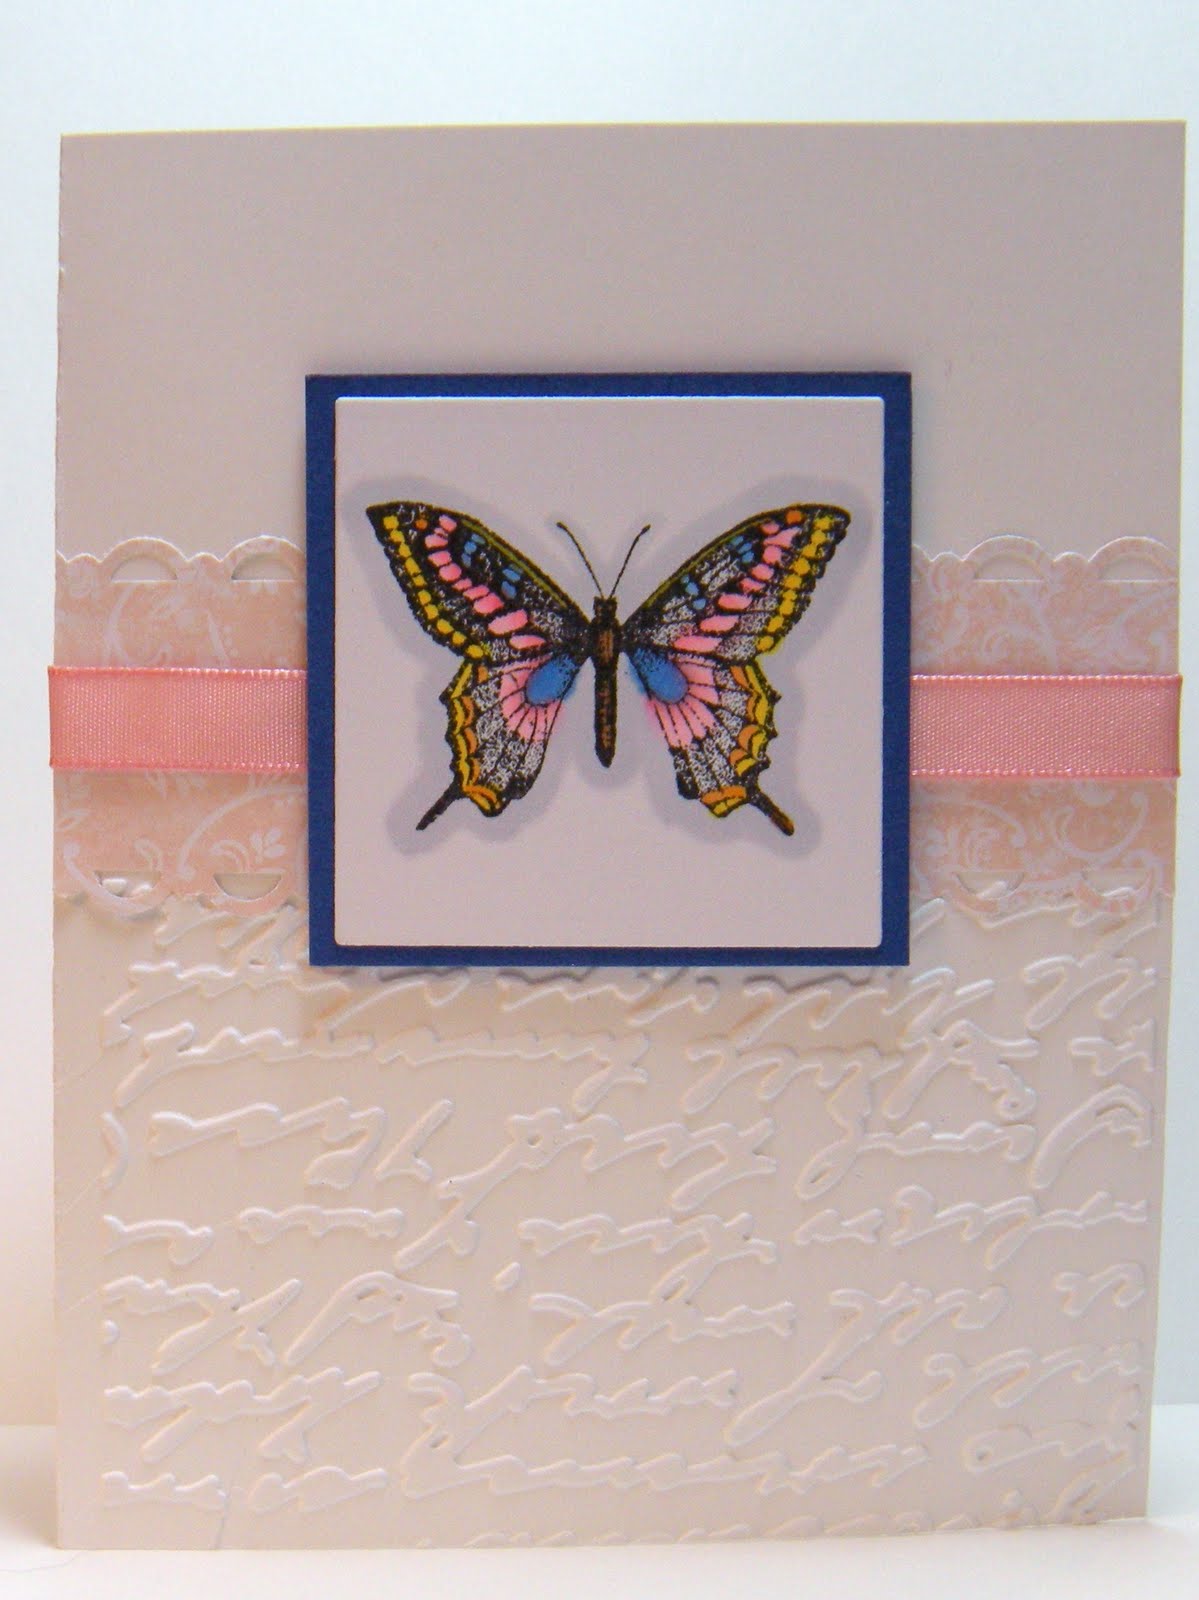
I think my image is too dark for the color of cardstock I chose for the card base. Butterfly is colored with Copics - love them!
Thanks for visiting.
Thursday
Copics 101
I took a class on coloring with Copics. I absolutely love coloring with Copics!!
I love this card....I especially like coloring flowers. I've had to buy some new stamps - oh, darn!! Lol. I smudged the sentiment, so I'll have to do that over.
Hope you enjoy!
I love this card....I especially like coloring flowers. I've had to buy some new stamps - oh, darn!! Lol. I smudged the sentiment, so I'll have to do that over.
Hope you enjoy!
Saturday
Butterfly Thoughts
I picked out the same colored CS as this butterfly has in it. I didn't like it at all, so I narrowed down the colors to just these two. Much better!!!
Hope you enjoy.
Hope you enjoy.
Friday
One Layer
This is my first attempt at a one layer card. I wanted to keep it as simple as possible. I absolutely love it.
I had to mask the branch because I stamped it first. I used the stamp-a-ma-jig to stamp the shadow and the sentiment. It looked sort of naked, so I added the button.
Thanks for visiting.
I had to mask the branch because I stamped it first. I used the stamp-a-ma-jig to stamp the shadow and the sentiment. It looked sort of naked, so I added the button.
Thanks for visiting.
Wednesday
Valentine's Goodies
I realise that it's way past Valentines, but I forgot to post the goody boxes that DD2 and I made. We started with white CS (brown for the boys) and stamped hearts and stuff on it. Then we cut them out, folded and taped together.
We made the front part with red CS behind White CS that's stamped with a big red heart. Then we cut out a big heart out of pink DP and put 3 strips of double sided tape and stuck 3 different colors of teeny tiny micro beads on them. We then popped that out on top of the big red heart. We put a little red heart on the lid, that has a pink bling on it. My DD was thrilled.
Friday
Pretty In Pink Wonderful Inchies
I got some new inchie stamps, so I had to try them out. CS, DP and ink are all SU, and the pearls, ribbon and stamps are unknown (bought at either Michaels or Scrapbookers Paradise).
These are very soft colors; very feminine; so it got sent to a very good friend of mine. Hope you enjoy.
Thanks for visiting.
Thursday
Wednesday
Missing Mojo
I like the colors. I like the layout. I like the embellishments. I like the DP. BUT....there's something missing or is it the placement of the elements? A smaller and darker sentiment just above the ribbon on the right of the focal area should fix this - maybe. What do you think??? I'm stuck on this one.
Please help!!!
Please help!!!
Tuesday
Shiny Birthday
This one is bright and cheery. I stamped and cut out a flower, then clear embossed it to make it shiny. I used my pinking shears to make the grass and a florish for the flower stems. I colored (with my markers) the teeny flowers on the florish before I stamped. Then I used pearls for the centers of all the flowers. A little ribbon - two kinds- that hold the "HAPPY...". I used my new Slice to cut out the frame that the ribbon goes through. I popped the flower up with dimensionals. The inside says "Birthday".
Thanks for visiting and I hope you enjoy this.
Monday
Hearty Love
Hope you enjoy it and thanks for dropping in!!
Sunday
Birthday Wish Tri-Shutter
Sorry for being MIA for the past month (how time flies), but you know how life gets in the way. This is one that I made a while ago and thought I'd better photograph it before I gave it away. This tri-shutter card is all done in the earth tones: card stock, ink, embellishments and DP. Notice my sparkly butterfly in the second photo - love him!!
Hope you enjoy this and stay tuned for more tomorrow.
Tuesday
Falling Hearts
I love the colors red, black and white, so I made this card. I wanted to make the hearts on the side to seem like they were falling. Hence, the name. I used the new shimmer paints from SU on the hearts. The big one was clear heat embossed before the paint was applied. You will notice that the "love" is the negative from an earlier card.
Hope you enjoy.
Monday
Valentines is fast approaching....
....so here's one for one of my very good friends.
Supplies: real red & white SU CS, SU DP, A Happy Heart stamp SU, real read, pretty in pink & versa mark ink SU, clear embossing powder, Stickles, ribbon, pink heart, dusty pink CS & red bling unknown
Sunday
Big Red Bow
The bow really makes this card - so romantic, don"t you think? And there is no ink!!
Supplies: white and black SU CS, unknown source for the DP and ribbon
Saturday
Brick Wall Sympathy
I tried the brick wall technique on this sympathy card. I'll do it again because I love making it and the look is great.
Supplies are SU: embrace life stamp, sentiment (unknown source), pumpkin pie CS, certain celery CS, DP, basic black classic ink, black embossing powder, close to cocoa classic ink, pumpkin pie classic ink, ribbon and leaf from unknown source
Subscribe to:
Posts (Atom)